
Personalised Caps & Custom Trucker Hats UK: Your Guide to the Best Blank Caps for Embroidery
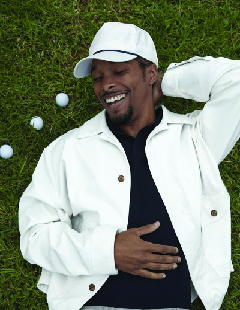
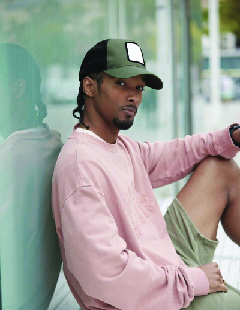
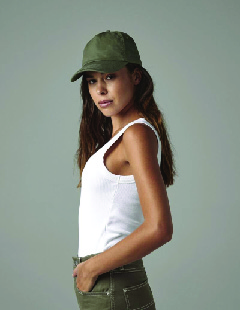
Caps are a great way to upsell to your customers, making them a strong addition whether it’s for fashion, merchandise, or uniform. When it comes to embroidery, having the right blank cap and accessories is vital for executing custom designs and logos that stand out and last. In this blog, we will explore the different types of Beechfield caps, accessories to streamline the process, and how to avoid common mistakes for optimal customisation results.
Common Mistakes and How to Avoid Them:
Incorrect design placements
When embroidering caps, it is important to be 100% transparent with your customers about how the placement of their design may affect the performance of the cap. You may have customers requesting their design to be placed just above the bill of the cap. However, as the bill holds the structure and shape of the hat, embroidering too close to it can affect the cap’s performance and embroidery execution — and even risk damaging your machine.
Solution: Position the design away from the curved surface of the cap, ensuring you are no closer than ½ an inch from the bill.
Using the wrong backing/stabiliser
Using lightweight or no backing can cause a design to sink or pucker into the fabric of structured or thick caps, resulting in distorted images that don’t meet your customers’ expectations. A common mistake is assuming all backings are the same, when in fact, there are different types available.
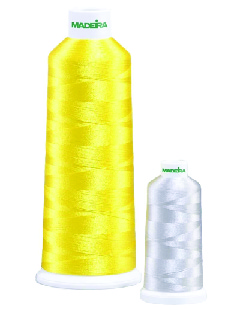
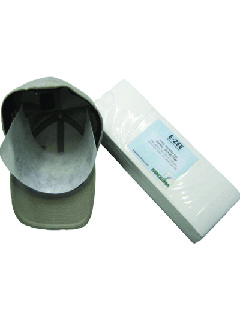
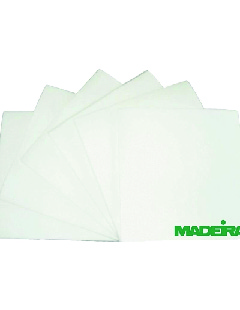
Solution: Use a heavy-duty tear-away backing that’s specifically designed for caps. The MR064 E-ZEE Cap Backing from Madeira is ideal for this, offering backing paper cut perfectly for cap embroidery.
Ignoring the cap’s structure
It’s important to note that every cap has a different structure depending on its style — which can affect your decoration technique. Flat visors, trucker caps, low-profile styles, and structured 6-panel caps all behave differently when embroidered. Some won’t lay flat, which can lead to needle or thread breaks.
Solution: Adjust your hooping tension, stitch density, and needle type based on the cap style. For example, structured caps with buckram can handle dense stitching, while soft, unstructured caps require lighter, more flexible designs. You can also use binder clips to secure the sides to the arms at the bottom of the cap frame.
Thread Breakage or Tension Issues
Frequent thread breaks or inconsistent is often due to wrong tension settings, cheap thread or poor needle choice. Cap embroidery puts extra pressure on your machine due to curved surfaces, seam density, and design placement, so any imbalance in your setup is quickly exposed.
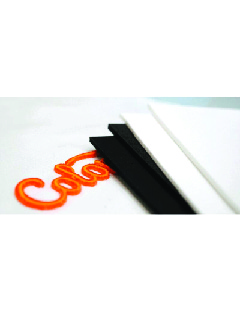
Solution: Use high-quality thread like Madeira Polyneon or Madeira Classic Rayon and check your machine’s tension is correctly balanced. For caps, a size 75/11 sharp needle is a solid starting point. Clean your machine regularly to avoid build-up causing drag on the thread.


From Beechfield Hats to Cheap Plain Caps for Printing — Fashion Accessories Wholesale UK Essentials
Personalised caps with embroidery offer a fantastic opportunity for printers and embroiderers to upsell stylish and practical headwear to customers looking for merchandise, fashion pieces, or uniforms. The right tools and techniques play a vital role in ensuring a high-quality, professional result that exceeds customer expectations.
By understanding and avoiding common mistakes, you can reduce errors and deliver consistently excellent results. Beechfield offers one of the best blank cap ranges for embroidery, with a wide variety of styles and colours to suit every project. Paired with purpose-designed accessories from Madeira, such as high-quality embroidery threads and backing, you’ll be able to streamline production and achieve standout results every time.
Useful Resource Links:
Beechfield Decoration Videos - Marketing Tool Kit - Brand Videos
Lifestyle Imagery - Marketing Tool Kit - Images
Specification Sheets - Marketing Tool Kit - Spec Sheets
Beechfield Webinar - Marketing Tool Kit - Events
FAQ's
Prestige Leisure has a variety of plain baseball caps in a variety of different colours in children and adult sizes. Click here to shop the range.
Start by securing the cap to the cap frame, making sure the sweatband is pulled back and out of the way. Centre the cap so the seam aligns with the middle of the frame. Smooth out any wrinkles, then clamp the frame shut tightly to hold the cap in place. Use clips or tape if needed to secure the sides, especially on unstructured caps. Proper tension and alignment are key to clean, professional results.
To remove embroidery, turn the cap inside out and carefully cut the bobbin threads with a seam ripper or small embroidery scissors. Once the threads are loosened, gently pull the top threads from the outside of the cap. Use tweezers to remove any leftover thread bits. Be patient and work slowly to avoid damaging the fabric, especially on structured caps. For stubborn spots, a lint roller or fabric shaver can help clean up residue.